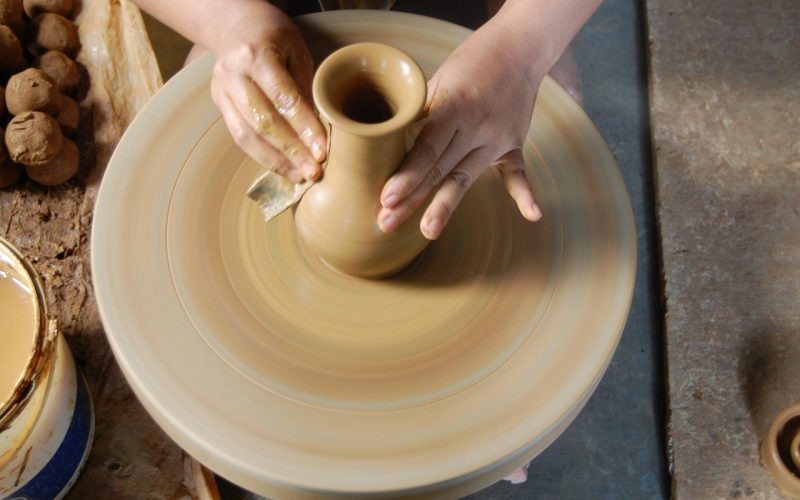
The Process of Making Textured Ceramic Pieces
Adding texture to a ceramic piece must be done once the clay is relatively dry, but it does not need to dry completely. A variety of objects, tools or hand pressing is used to texture the piece. Waiting ensures the clay has time to harden enough to not be deformed when the texture is added. Coating the piece or area to be textured is the next step in the process.
Slip is nothing more than clay with extra water added to make the clay slippery. Artists use the same clay the object was formed out of, or clay that has the same shrink rate as the clay used in the piece. This ensures the slip will adhere to the piece when it is dried and fired. Using slip with a higher or lower shrink rate means the clay will either crack or break when the base clay does not shrink enough. If the slip has a lower shrink rate, it will fall off when the base gets smaller than its covering.
Once slip has been applied in the desired place and amount, it is time to begin the texturing process. The artist first selects the item to make the texture and gently presses it into the slip. This is done for the entire area to be textured. If more than one texture is desired on a piece, the artist will choose the appropriate tools to complete the work. One example of this is using a leaf to create a pattern on one part of the piece and then using rope around another area to create more texture in a different design. When done, the artist has a piece with several textures that can be decorated with color, or left unglazed for a natural look.
There are a great variety of tools and items used to create texture in clay. The artist can use a metal pick, a paint brush or even their hand to create unique designs. Rope is one traditional method of adding texture. Stones, leaves, branches and seashells are all natural items that are pressed into slip to add texture to ceramic pieces.